
Legal aspects: What needs to be considered when building a wooden shelter in Switzerland?
Parents with their own garden are familiar with the fact that toys, bicycles and garden tools need a sheltered place. A wooden shelter in the garden offers practical storage space and keeps rain and snow away from important items. However, before you build a wooden shelter, you should familiarize yourself with the legal aspects in Switzerland. The saying that you need a permit for almost everything applies here. In the following article, you will find out what you need to look out for - from building permits and cantonal regulations to distance rules and tips for neighbors.
1. check the building permit: Does a wooden shelter require a permit?

The basic rule in Switzerland is that all permanent structures require a permit - i.e. anything that is firmly attached to the ground. A permanently installed wooden shelter (be it a tool shed, bicycle shelter or firewood storage) is therefore generally subject to the building permit requirement. Exceptions confirm the rule: many cantons define small shelters or garden sheds up to a certain size as permit-free. However, these limits vary greatly. In the canton of Zurich, for example, a building permit is required from a floor area of over 6 m² or a height of 2.5 m, while in the canton of Bern a building permit is only required from a floor area of over 10 m² (at a height of 2.5 m). The area and height of the planned shelter are therefore decisive. You should therefore plan your shelter carefully and determine the dimensions - even a modular, expandable model should initially remain in the permit-free size if you want to avoid a costly permit. But be careful: What can still be built freely in one canton may require a permit in the next. If in doubt, it's always better to check with the relevant local authority to avoid any nasty surprises.
2. cantonal differences: regulations in Zurich, Bern, Aargau & Co.
When building a permanent wooden shelter (e.g. tool shed or wood store) in a private garden, different size and height limits apply depending on the canton, up to which no building permit application is required. Important: Even small buildings that do not require a permit must comply with the other regulations (distances from boundaries, zoning plans, monument protection, etc.) and may not be converted into living space or heated. If in doubt, it is always advisable to consult the municipality. Below is an overview of the cantonal regulations (all details for building zones, private gardens):
Legend: "(none)" means that no permit-free maximum size is specified (i.e. every fixed building requires a permit). "(n/a)" = no indication (no specific height limit defined). All information relates only to private gardens within the building zone. Outside building zones, even the smallest buildings generally require a permit. Municipalities can also issue their own, stricter regulations or provide for a simplified notification procedure. If in doubt, the responsible building authority should always be consulted
3. choice of location & boundary distances: Where can the shelter be located?

Not only the size, but also the location in the garden plays an important role. A shelter directly on the property boundary can be problematic. Most building regulations only permit low structures up to a certain height on the boundary - often walls or fences up to approx. 0.8 m high can be erected directly on the boundary without further ado. For anything higher on or near the boundary, you usually need the neighbor's consent and a permit. Some cantons also limit the maximum length of boundary buildings to prevent endless rows of sheds.
So plan some distance from the neighboring property. As a rough guide, it is advisable to place a shelter at least one to two meters away from the property boundary, unless otherwise specified. This will prevent rainwater from dripping over the edge of the roof onto the neighbor's property or your structure from massively impairing their view and light - both of which are frequent points of contention in neighbor law. Find out from your local authority about the applicable boundary distances for adjacent buildings (sometimes specified in the development plan). If your project still has to move closer to the boundary, try to talk to your neighbors in advance. A transparent project is usually better received and any concerns (e.g. about shadows or visual impact) can be clarified before the official procedure begins. Compromises can often be found by moving or planting some greenery so that both you and your neighbor can live with the shelter.
4. construction planning, safety and materials: quality pays off
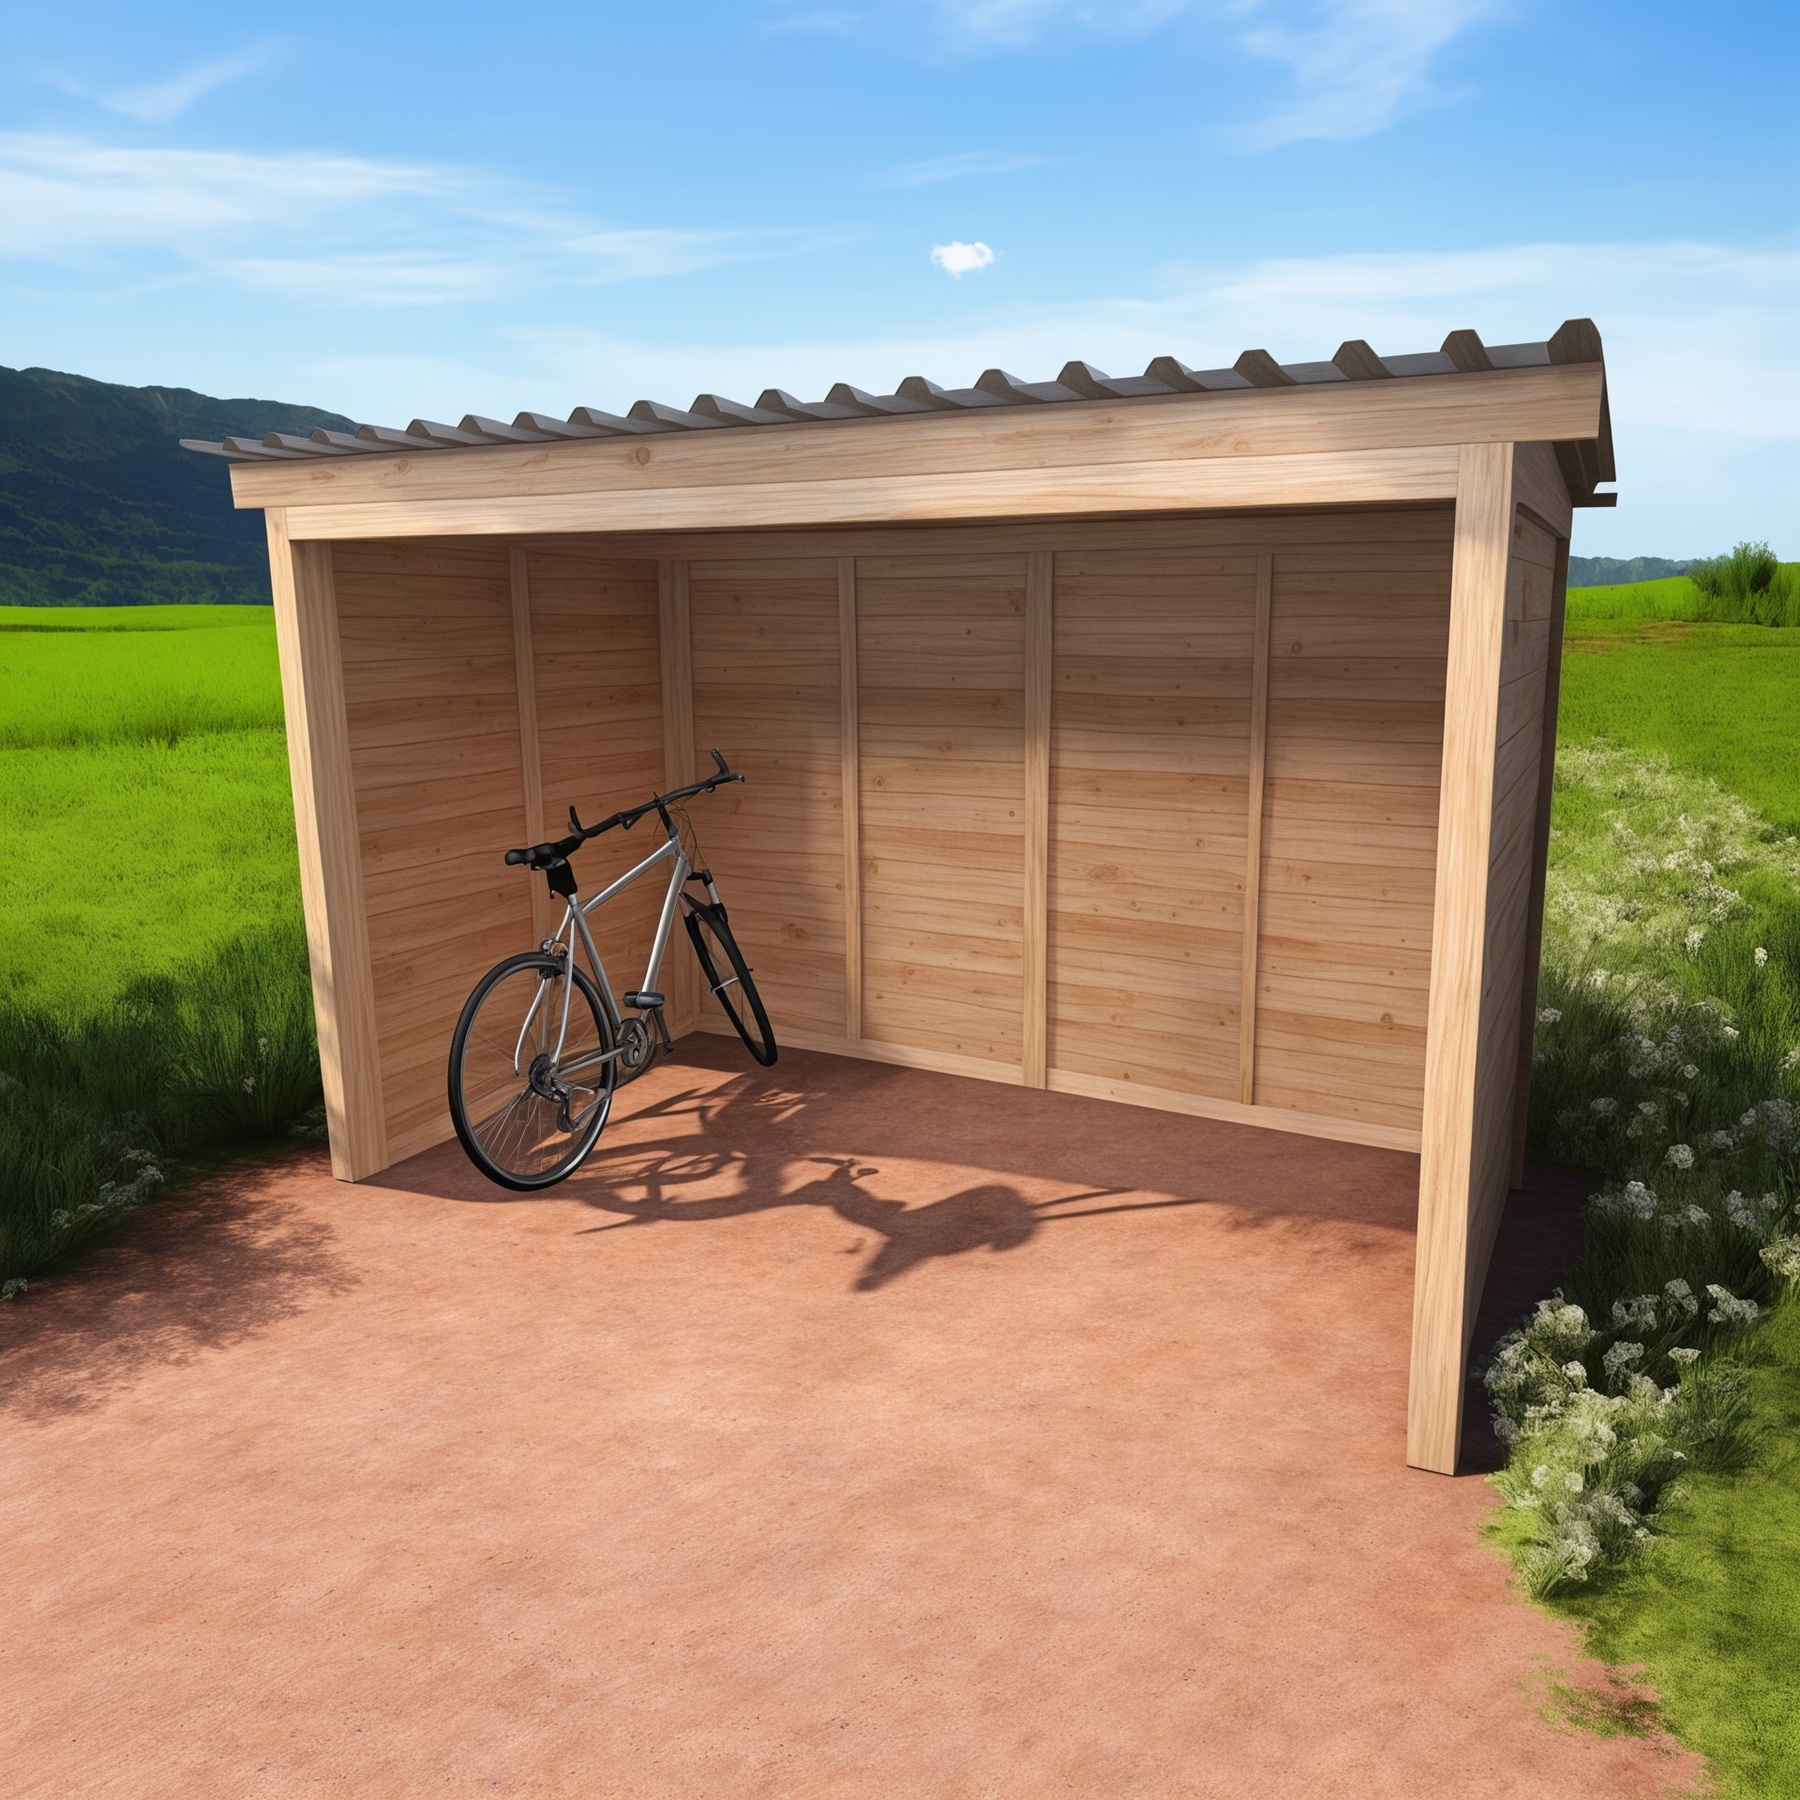
A wooden shelter like the modular "wooden shelter module" from Sanilu offers flexible, weatherproof storage space in the garden. Thanks to its sturdy construction and high-quality wood, it can withstand wind and weather - however, careful planning and often a building permit are required for larger dimensions.
To ensure that your DIY project is not only legal, but also safe and durable, you should pay attention to a few points when planning. Firstly, a shelter needs a solid base: a level foundation or ground anchors ensure that nothing wobbles. Many prefabricated systems - for example the wooden shelter module - rely on robust posts (here 9×9 cm thick wooden posts) and weather-resistant material (Douglas fir wood or pressure-treated spruce). Such solid construction timber guarantees high stability and durability, which is particularly important in Switzerland with strong winds and snow loads in winter. Therefore, plan for extreme weather conditions in the structural design (keyword: snow load zone) - if in doubt, a structural engineer can advise whether additional bracing is necessary.
Secondly, you should check whether there are any structural requirements, for example regarding fire protection or drainage. An open wooden shelter is considered an ancillary structure, but in densely built-up areas it may be necessary to ensure that rainwater does not run off to the neighbor or that a minimum distance from hedges (fire hazard) is maintained. Such details can often be found in local building regulations or in your municipality's gardening laws. Also clarify whether a certain roof shape or color is prescribed - in some neighborhoods, outbuildings should match the main house (topic of local image protection).
Thirdly, quality pays off. A well-planned shelter with high-quality materials may initially be a little more expensive or complex, but it will make the approval process easier for you (because the plans meet the requirements) and you will enjoy it for a long time. Feel free to use existing modules or construction plans from reputable suppliers. Our example wooden shelter module, for example, can be configured in three depths and up to ten widths and is supplied as a kit with detailed instructions. This allows you to adapt the size to your available space - perhaps start smaller and expand later. It is important that you check the approval requirement for each expansion. All in all, with solid planning and execution, your wooden shelter will not only be stable, but also legally sound.
5 From planning application to construction: how it works without stress

Once you've gathered all the information and decided on a location, it's time for the practical steps. Here are a few tips to ensure that the administrative process and construction run smoothly:
-
Inform early on: Check with the local authority early on whether and which building permit is required. They will also provide you with the correct form for the building permit application. Many municipalities offer information sheets online - a phone call can still clarify any unanswered questions.
-
Involve your neighbors: If possible, talk to your neighbors about your project before submitting your application. If the neighbors are aware and agree, they are less likely to object later. A good relationship with neighbors can often get small buildings approved in a simplified procedure.
-
Prepare the documents: Put together all the necessary documents so that you can submit the application in full. As a rule, you will need a current extract from the land register, a site plan (cadastral plan of your property) and construction plans of the shelter (sketches or drawings with dimensions, usually 1:100 scale). Depending on the canton, further documents may be required, such as photos of the location or information on the choice of materials.
-
Submit the planning application: Submit the planning application to your municipal administration. Smaller shelters that do not affect neighboring or public interests are often dealt with in a simplified procedure - i.e. without public tendering and without the possibility of objection. Larger projects go through the ordinary procedure: You have to mark out the construction project on the property with profile poles and an official publication is made so that neighbors can lodge an objection within a period of time (usually 20-30 days).
-
Be patient: Allow sufficient time before you can start building. Even an uncomplicated project ideally takes around two months from the application to the positive building decision. If everything goes smoothly and there are no objections, you will then receive the building permit and can finally pick up your tools. Make sure you wait for this decision before you order materials or start digging!
What happens if you build without a permit? This is strongly discouraged. The authorities can impose a building freeze and, in the worst case, order the shelter to be dismantled - even if it is already finished. Subsequent approval is sometimes possible, but the procedure is more time-consuming and there is the threat of a fine (often around CHF 1,000-2,000) for the infringement. Incidentally, it is usually attentive neighbors who report unauthorized buildings. The municipalities must follow up on such reports. So save yourself the trouble and act correctly from the outset. If you have the permit and have taken all the necessary precautions, your wooden shelter you can get to work with confidence and soon add a practical eye-catcher to your garden.
Have you already had experience with building a garden shelter or do you have any other questions on the subject? Feel free to share it in the comments - the garden community is looking forward to your input!


