
Bee drinking trough in the garden: how to promote bees and biodiversity in Switzerland
Bees are finding fewer and fewer natural watering holes in many Swiss gardens - this is a problem, especially on hot summer days. A well-planned bee drinking trough not only helps the insects, but also makes your garden more lively and educational for children. In this guide, you will learn how to set up a safe, hygienic and bee-friendly water source with simple means, avoid typical mistakes and at the same time promote biodiversity on your doorstep.
Table of contents ▼
- Why a bee drinker in the garden makes sense
- Creating a bee drinking trough correctly: how to proceed
- Suitable containers and materials
- Location, hygiene and safety - avoiding typical mistakes
- Combining bee drinkers and biodiversity in a sensible way
- Decision-making aid: Is a bee drinking trough suitable for our family garden?
- Conclusion: Small watering hole, big impact
- Frequently asked questions about bee drinkers in the garden
- Bees need water every day in summer - shallow, structured drinking troughs help them to drink safely.
- Rough surfaces, stones or pieces of cork and a location in partial shade, protected from the wind, are important.
- Top up the water daily and clean 2-3 times a week to prevent germs or mosquito infestation.
- In combination with native flowering plants, the bee drinking trough becomes a valuable building block for more biodiversity.
Why a bee drinker in the garden makes sense
Bees need water to drink, to cool the hive and to dilute honey stores. In hot, dry Swiss summers, puddles and poorly maintained garden ponds dry out quickly or are difficult to reach. A deliberately designed bee drinking trough in the garden closes this gap: It provides shallow, safe landing spots, reduces the risk of drowning and directs bees away from the pool, paddling pool or pet bowls - a win-win for animals and family.
Installing a bee drinker correctly: how to proceed
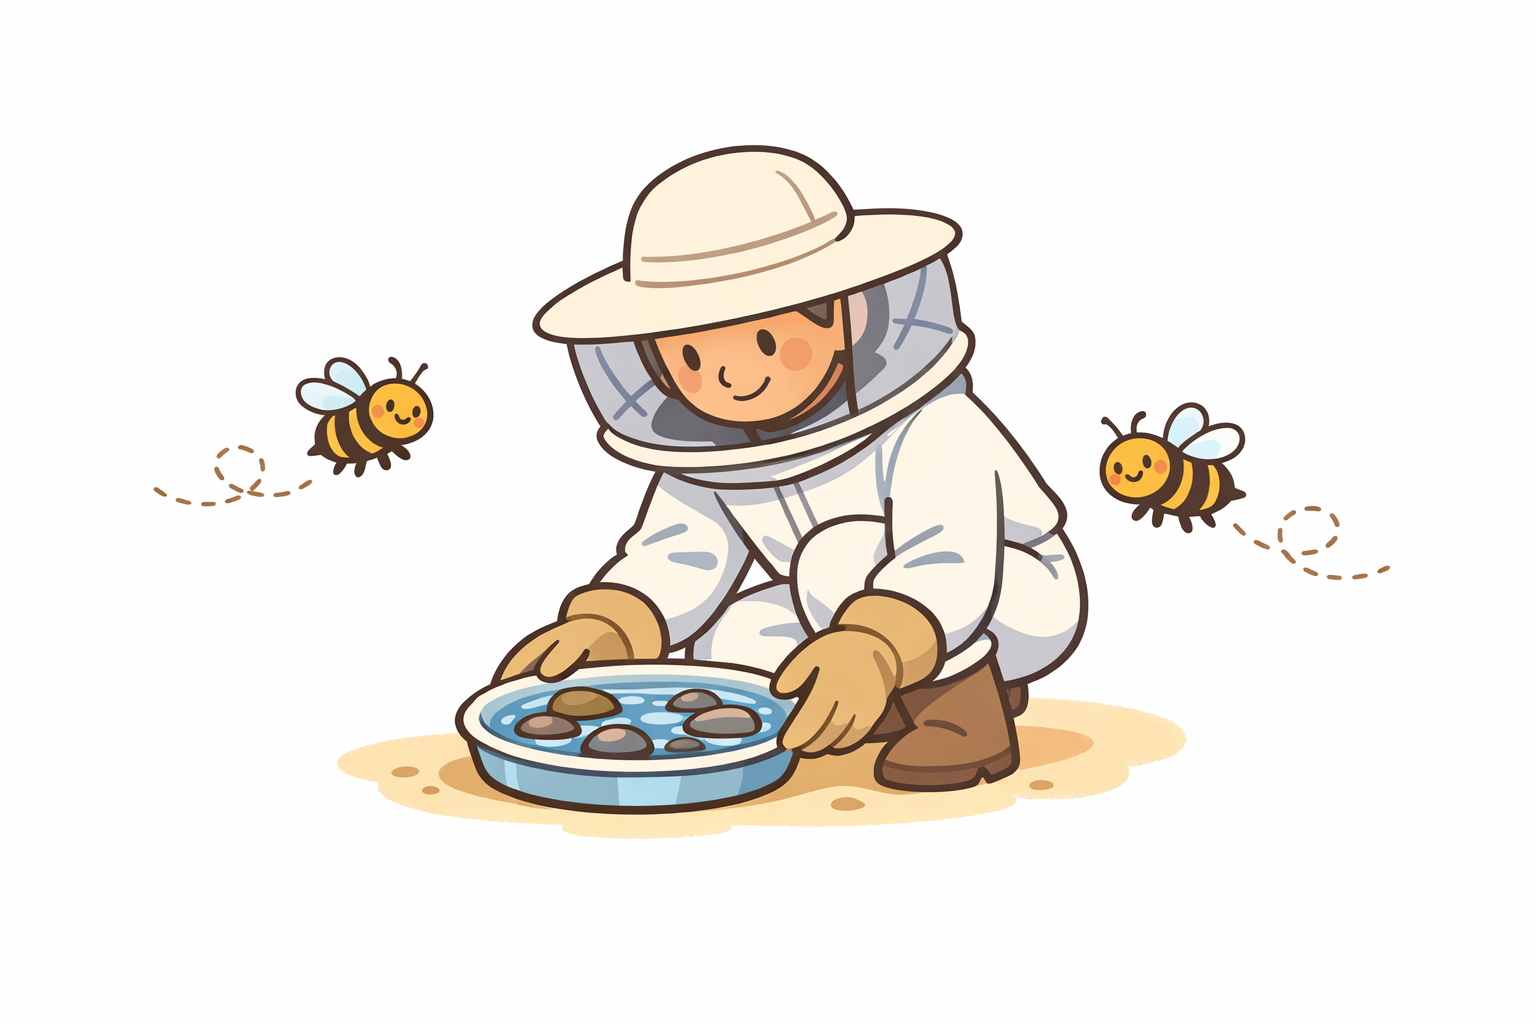
A functioning bee drinking trough is shallow, non-slip, well-structured and regularly maintained. Choose a wide bowl with a maximum water depth of a few centimetres, fill the bottom with stones, ceramic shards or cork and place it in a semi-shady, quiet place. To begin with, refill the tray at about the same time every day - this will help the bees get used to this reliable source of water.
Use a shallow, preferably rough bowl made of ceramic, clay or stone with a wide rim. The larger the surface, the more safe landing places you can create.
Fill the bottom with pebbles, natural stones, clay balls or pieces of cork. The aim is to ensure that bees can always stand with their legs dry and do not slip into open areas of water.
Slowly pour in water until the stones are just above the surface of the water. If possible, use rainwater or stagnant tap water without additives.
Place the bee drinking trough in partial shade, protected from the wind and at some distance from heavily used seating areas. Ideally, it should be close to flowering shrubs or a flower meadow.
Check the water level daily on warm days and top up. Rinse the bowl with clear water several times a week to reduce algae and germs.
This step-by-step system is ideal for families as a small garden project with children. Let the children collect stones, paint corks or add water - turning the drinking trough into a living nature laboratory right on your doorstep.
Suitable containers and materials
Flat terracotta coasters, ceramic bowls, natural stone troughs or old baking tins are suitable for a bee drinking trough. Rough, not too smooth surfaces are important so that the bees can find a hold. Plastic is possible, but can heat up strongly in the sun and looks slippery - it is only better if you structure it with lots of stones.
What bees really need - and what they can do without
Bees don't need elaborate fountains or decorative figures, but above all: non-slip landing sites, shallow water and reliability. It is therefore more important that your drinking trough is filled and clean every day than that it looks perfect. Avoid fragrances, sugar or honey in the water - these are more likely to attract wasps and can transmit diseases.
- Shallow bowl (max. water depth approx. 3-5 cm)
- Rough edge or natural material as a surrounding "landing strip"
- Stones, gravel, clay balls or pieces of cork as stepping stones
- Rainwater or stagnant tap water without additives
- Small container for refilling (e.g. place a watering can next to the drinking trough)
If you already have an area in the garden with play equipment or a wooden shelter, the bee drinking trough can be easily integrated into a quieter corner next to it - where children can watch without sitting in the middle of the bees' flight traffic.
Location, hygiene and safety - avoid typical mistakes
The best location for a beehive is in partial shade, easily visible, but not in the middle of a passageway. Directly in the blazing sun, the water heats up quickly and tilts hygienically, in windy corners it dries out quickly. Make sure you keep a distance from busy seating areas, barbecue areas or sandpits so that children and bees do not stress each other out.
Common mistakes with bee drinking troughs
- Water that is too deep: bees slip off and drown if there are no protruding stones.
- Containers that are too smooth: Glass or smooth plastic offer little grip for the little feet.
- Infrequent cleaning: Algae and biofilm encourage germs and mosquito breeding.
- Changing locations: Bees find it harder to find the watering hole again if it is constantly moved. becomes.
- Right next to the dining table: unnecessarily increases conflicts with children and guests.
Never use water with cleaning agents, pool chemicals or rain barrel tabs for the bee drinker. Even small amounts can harm bees. Only rinse the bowl with clean water and avoid using aggressive agents - a dishwashing brush is usually sufficient.
In families with small children, it is worth placing the drinking trough slightly elevated but still visible - for example on a low platform or wall ledge. This keeps it exciting for children to watch without constantly spilling water or removing material.
Combining a bee drinking trough and biodiversity in a meaningful way
 A single bee drinking trough is a good start, but it only really comes into its own when combined with other natural elements. Combine the watering hole with native flowering plants, a small flower meadow, wild hedges or an insect hotel. In this way, you can create an interconnected network of food, shelter and water - ideal for wild bees, butterflies and other beneficial insects.
Practical examples for Swiss family gardens
In a typical terraced house garden, the bee drinking trough can be placed at the edge of a small flower meadow, while the central area serves as a play area with a play tower or swings. In larger gardens, the drinking trough can be part of a "natural island" consisting of heaps of branches, wild shrubs and a near-natural area without a robot mower. On the balcony seating area, a large bowl of water and a box of wildflowers are enough to create a mini biotope.
Observe over several days at which times the bees make the most use of your drinking trough. If possible, plan garden activities - such as paddling pools or loud games - outside of this time period. This will reduce stress for the insects and promote a relaxed atmosphere in the family garden.
If you are planning larger projects - such as a natural play area with a climbing tower, sandpit and places to retreat - you can think about the water point, flowering area and play elements together from the outset. This creates a garden structure that is both child-friendly and insect-friendly.
Decision-making aid: Is a bee drinking trough suitable for our family garden?
A bee drinking trough makes sense if you are prepared to check the water almost every day during the warm season and clean it 2-3 times a week. It may not be suitable for families who are often on the move or have a very sealed environment because the water is checked too infrequently. Make an honest assessment of your time resources and plan a smaller, well-maintained drinker rather than a large one that is neglected.
When the bee drinking trough is ideal - and when it is not
- Particularly suitable for families who are interested in nature, who want to introduce children to insects and who are regularly in the garden in summer.
- Limited suitability on small balconies in very hot locations - frequent checks are required to ensure that the water does not "tip over".
- Less suitable in gardens where pesticides are used heavily or pool chemistry can easily get into the drinking trough.
If maintaining a watering hole is not realistic at the moment, you can still promote biodiversity: with native flowering plants, a near-natural strip of grass, piles of leaves and structures for insects and small animals. The bee drinking trough is one component - but not the only one.
Conclusion: Small watering hole, big effect
Start with a simple, shallow bowl filled with stones and clean water in a semi-shady, quiet place. During the first few weeks, observe how well bees and other insects accept the watering place and adjust the height, structure and proximity to perches if necessary. If the daily checks go well, expand step by step: more flowering plants, a small wild meadow or additional structures will gradually turn your garden into a lively, child-friendly biotope.